Survey Tab
Build and edit surveys with the Survey tab.
Locate the Survey Tab | Create or Edit Survey Questions | Survey Features | Optimize for Mobile App Use
Locate the Survey Tab
From the Projects page, you can access the Survey tab in three ways:
- Create a New Project – After completing the setup steps, you’ll be taken directly to the Survey tab of your new project.
- Click on an Existing Project – This opens the Survey tab of that specific project.
- Select Edit Survey – Use the actions dropdown menu (three dots) next to any project and choose Edit Survey.

Users can locate the Survey tab from three different locations on the Projects page.
Create or Edit Survey Questions
Once your project is created, you can begin adding and editing questions in the Survey tab. The Survey Builder allows users to add, delete, copy, and edit multiple questions at once.
See the Creating Questions help article for more information.
When you open the Survey tab, you’ll the see the survey builder’s most prominent features:
- Survey toolbar
- Question block
- Question editing area
- Question editing pane

See the Survey Basic Overview help article for more information.
Qualtrics offers over 100 question types to support a wide variety of data collection needs. To select a question type, click the dropdown arrow next to Add new question and choose from the list.
Note: Not all question types in Qualtrics are accessible. When building your survey, be sure to use formats that can be easily navigated with a screen reader or keyboard. See the Qualtrics Accessibility page for more information on accessible question types.
Once you’ve created a question, you can customize it to fit your survey. To begin formatting a question, click on it in the survey builder.

See the Formatting Questions help article for more information.
Once you’ve created a question and formatted it the way you want, it’s time to add some choices for your respondents to pick from.
See the Formatting Answer Choices help article for ways to add, remove, and customize answer choices.
The Rich Content Editor enables advanced formatting of survey text, including:
- Bold, italic, underline
- Font and color changes
- Hyperlinks, lists, tables
- Image and video embeds
Learn more in the Rich Content Editor help article.
By default, your survey questions will be displayed together on one page. Prevent survey fatigue and improve your respondents’ experience by breaking your survey into multiple pages.
See the Add Page Break help article for more information.
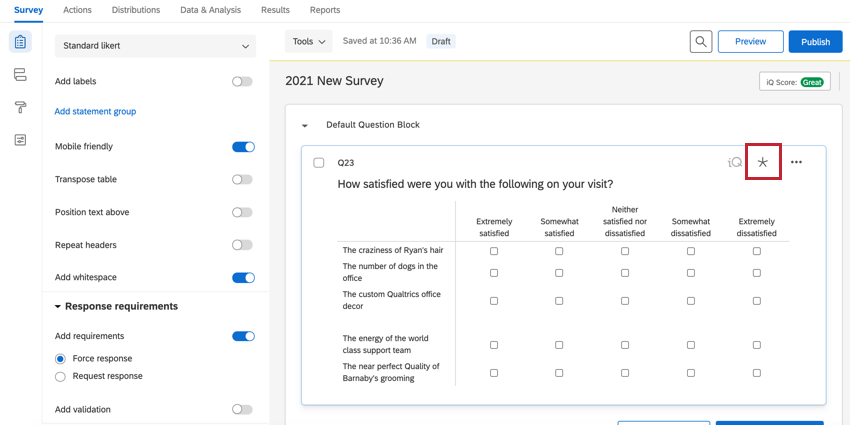
Response requirements and validation are used to alert respondents about questions they may have missed, or they can be used to solicit a specific kind of answer from respondents. To add validation to your question, navigate to the Response Requirements section of the survey builder.

In the Response requirements section, you can apply:
Requirements:
- Force Response – The respondent must answer the question before proceeding with the survey.
- Request Response – Alerts the respondent about any unanswered questions, but allows the respondent to continue the survey without answering.
Validation:
- Custom Validation – Used to force a certain type of response (for example, making sure a respondent selects the right amount of answer choices in a multi-select question).
- Content Validation – Used to force a certain response based on a certain type of content (such as when you want a respondent to enter a valid email address). This validation is used in questions that allow free response.
- Question-Specific Validation – Certain questions have built-in validation options. For example, constant sum questions have an additional option to require the question to total up to a specific value.
When any of the validation options are enabled, an asterisk icon will appear in the top right corner of the question, indicating that the question has some form of validation.
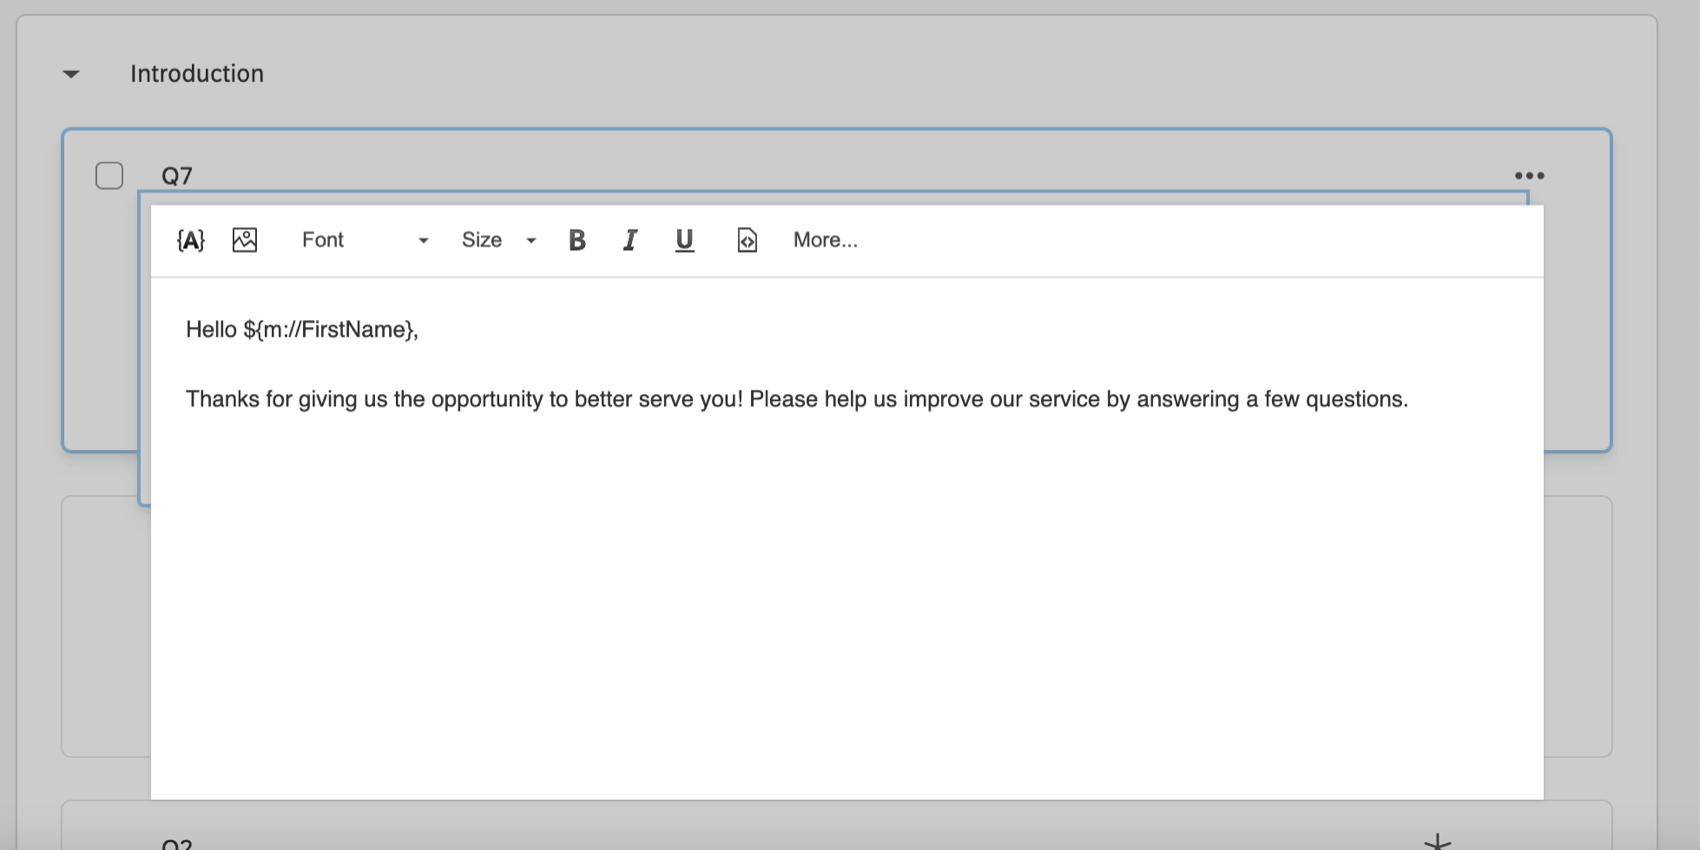
Piped Text lets you personalize your survey by dynamically inserting information from:
- Previous answers
- Embedded data
- Contact lists
For example, if a respondent selects "Microsoft Excel" as their software in one question, the next page can say: "You selected Microsoft Excel."
")
Although piped text appears as a line of code in the survey editor, it is automatically replaced with the specified content when the respondent views the survey.
")
See the Piped Text help article for more information.
Survey Features
Qualtrics offers a wide range of tools to help you create effective, dynamic surveys. Below is a summary of key features and options available within the Survey tab.
For each question in a survey, you can enable behavior that enhances your survey design, such as randomizing answer choices, hiding the question based on certain conditions, adding default choices, and more. To access question behavior, either right-click on the question or use the Edit Question pane to the left of your selected question.
See the Question Behavior help article for more information and a list of available questions and their behavior.
“Logic” refers to the condition a respondent must meet in order to see a question, receive an email, or trigger some other behavior in a Qualtrics survey. Each of the following features in Qualtrics uses logic in some way:
- Branch logic for showing a block of questions conditionally.
- Display logic for showing a single question conditionally.
- Quotas for determining which respondents should count toward a response limit you set.
- Custom validation for requiring respondents to meet certain answer requirements before proceeding in a survey.
See the Using Logic article for more information.
Blocks are groups of related survey questions. Use them to:
- Organize longer surveys (e.g., “Introduction” and “Main Survey” blocks).
- Apply logic to entire sections of your survey.
- Randomize blocks for experimental design.
See the Block Options help article for information to create and edit question blocks.
Customize what happens when a respondent completes your survey. Options include:
- Displaying a custom thank-you message
- Redirecting to another webpage
- Anonymizing responses
You can navigate to the end of survey options by clicking the End of Survey element at the bottom of the survey editor.
See the Editing the End of the Survey help article for more information.
Survey tools are features to help you create online surveys and give them advanced functionality. These features include:
- Auto-numbering questions
- Generating test responses
- Survey accessibility checks
You can access survey tools by clicking on Tools in the Survey tab.
See the Survey Tools help article for more information and a list of the different survey tools available.
The Survey flow is where you customize the order in which respondents experience the elements of your survey. As the name suggests, it’s where you determine the “flow” of your survey. Use it to:
- Control question order
- Randomize questions or blocks
- Apply embedded data
- Create customized experiences for different respondent groups
See the Survey Flow help article for more information.
The Survey Options menu allows you to manage survey settings such as:
- Survey availability timeframe
- Back button visibility
- Display of question numbers
- Data protection and security settings
To access these settings, click Survey options from the left navigation on the Survey tab.

See the Survey Options help article for more information.
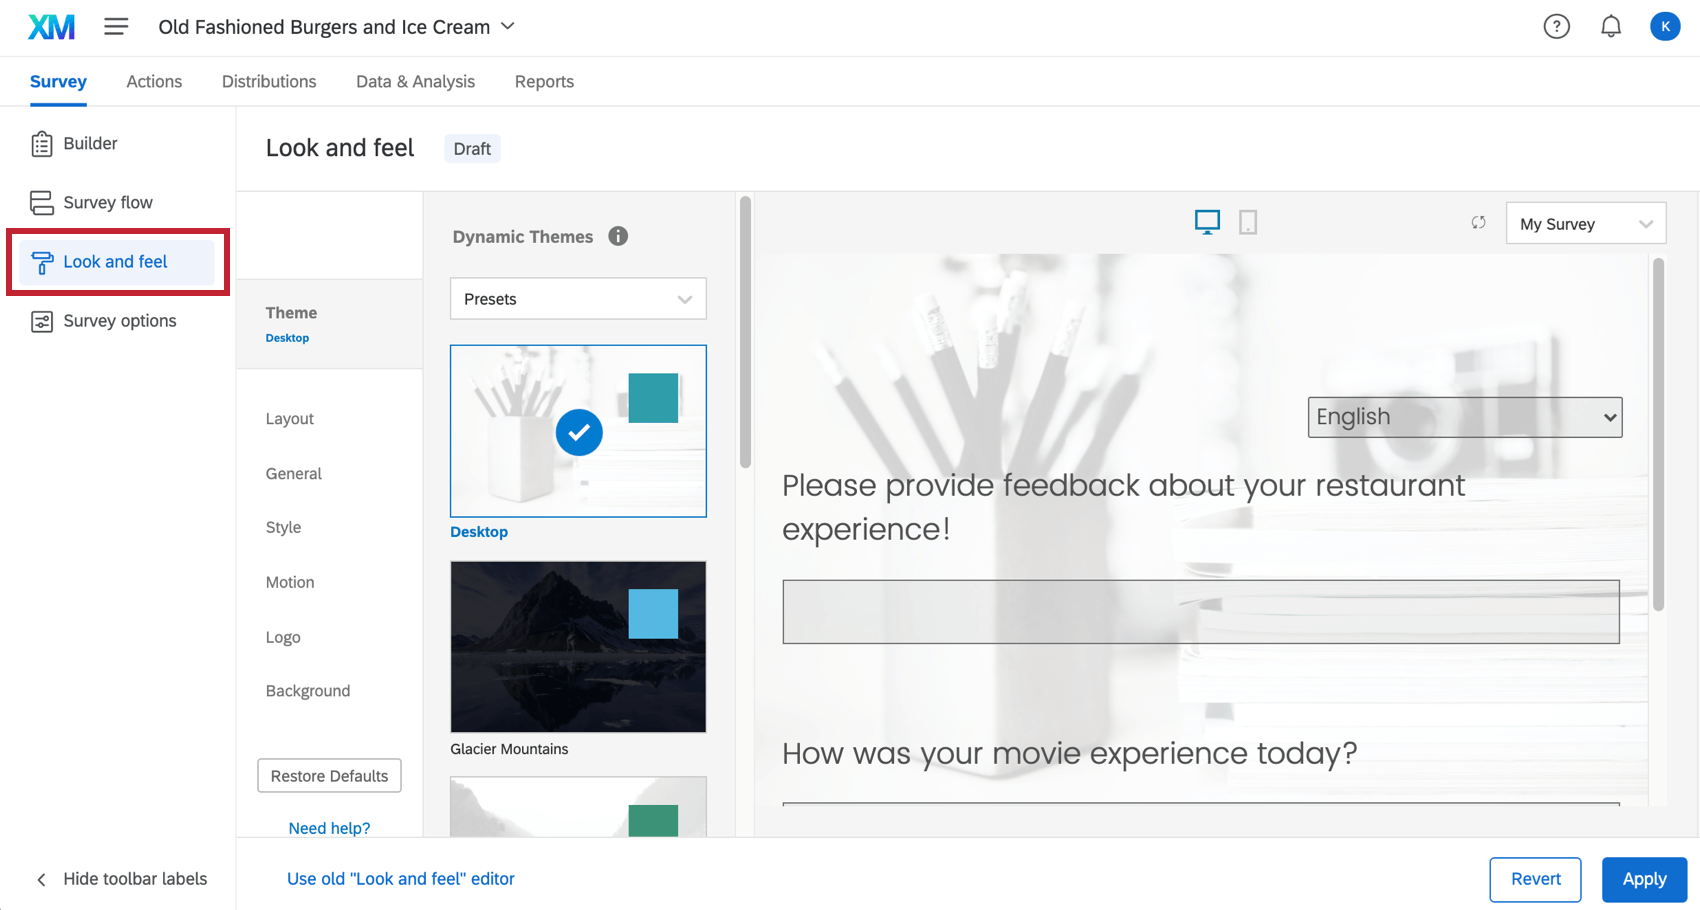
The way your survey looks can determine how well it performs. The good news is that Qualtrics gives you the ability to customize the appearance of your survey in many different ways. Whether you use a custom-built theme built by design experts, or you choose to individually customize specific survey elements yourself, Qualtrics gives you the ability to build visually appealing surveys like no other platform. The look and feel menu changes how your survey looks to respondents when they take your survey.
To access these customization options, go to the Look and feel menu in the Survey tab.
Once you have finished building your survey, you can preview it to ensure that everything is working the way you want by clicking Preview in the top-right of the Survey tab.
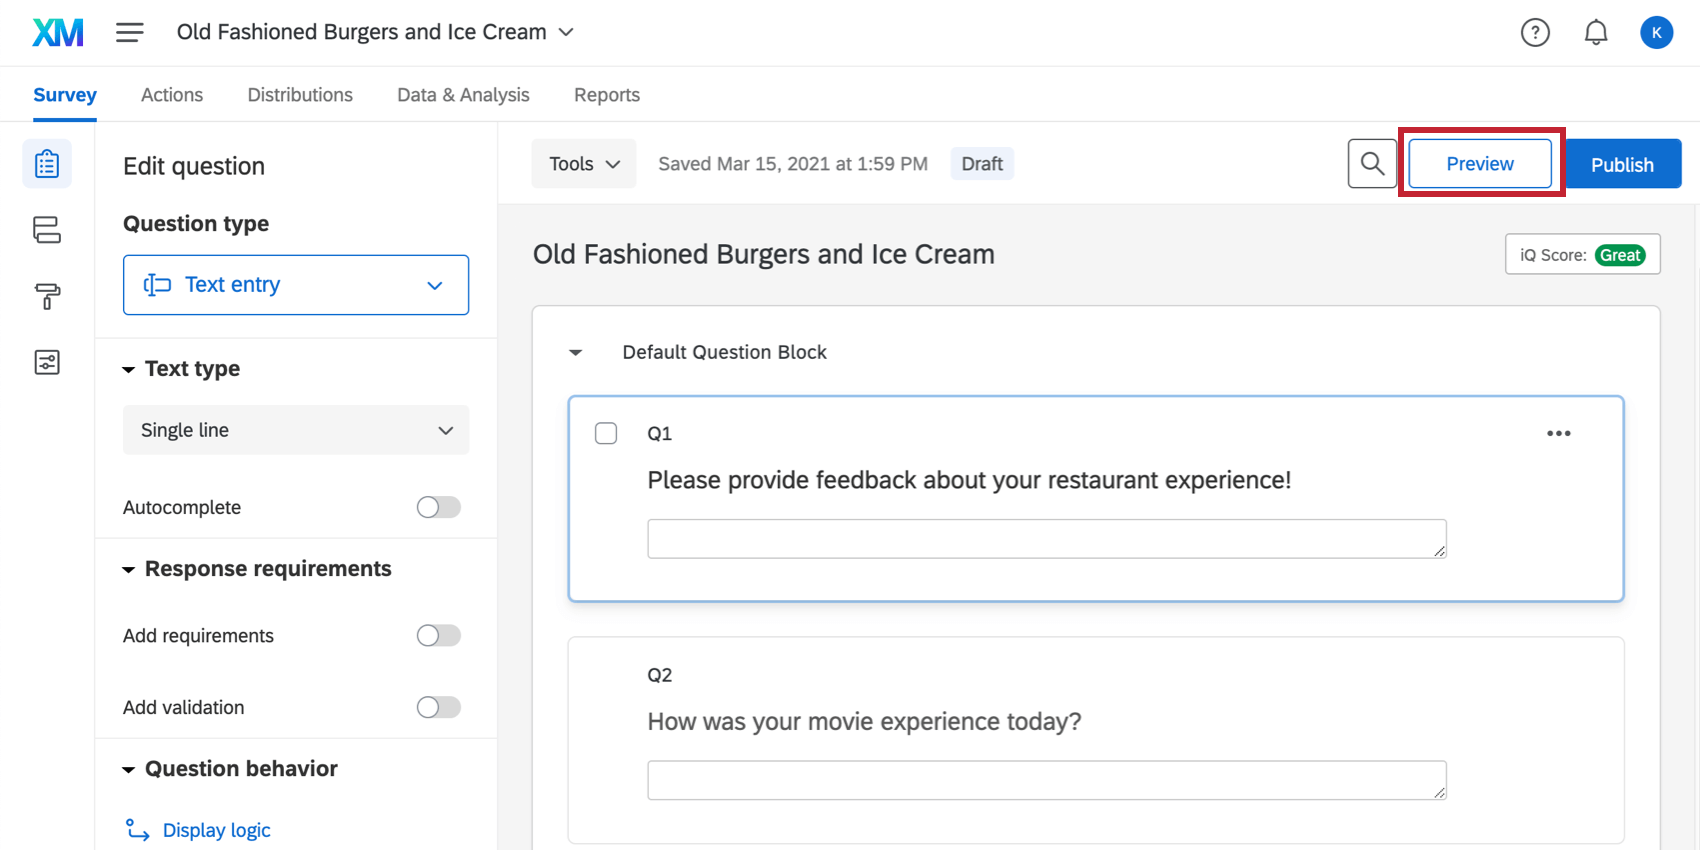
In the preview survey mode, you can answer questions and move through the survey the same way your respondents would with a real link. The survey will look exactly the same as in the real link, except you’ll have some additional options available at the top to help you test your survey; these options won’t appear in the real link.
Once you’ve created your survey, you’ll want to test it to be sure it looks and behaves exactly how you need. Similarly, if you need to make changes after you’ve launched your survey and started collecting results, it’s important to understand what types of changes are acceptable and what types might not be best for your data collection.
- Minor edits may be safe to make.
- Major changes may affect data collection quality.
Visit the Testing/Editing Active Surveys help article for best practices in editing both unpublished and active surveys.
Publishing controls when your changes go live. Instead of pushing edits instantly, you can:
- Moderate updates through version control
- Ensure quality before going live
- Restore or preview previous versions as needed
See the Survey Publishing & Versions help article for more information.
Qualtrics projects have 3 names:
- Project Name: The name that displays in Qualtrics.
- Survey Header: The name that can be displayed to respondents.
- Display Name: The name that appears on the survey browser tab.
You can change or update each of these at any time.
See the Renaming Your Survey help article for more information.
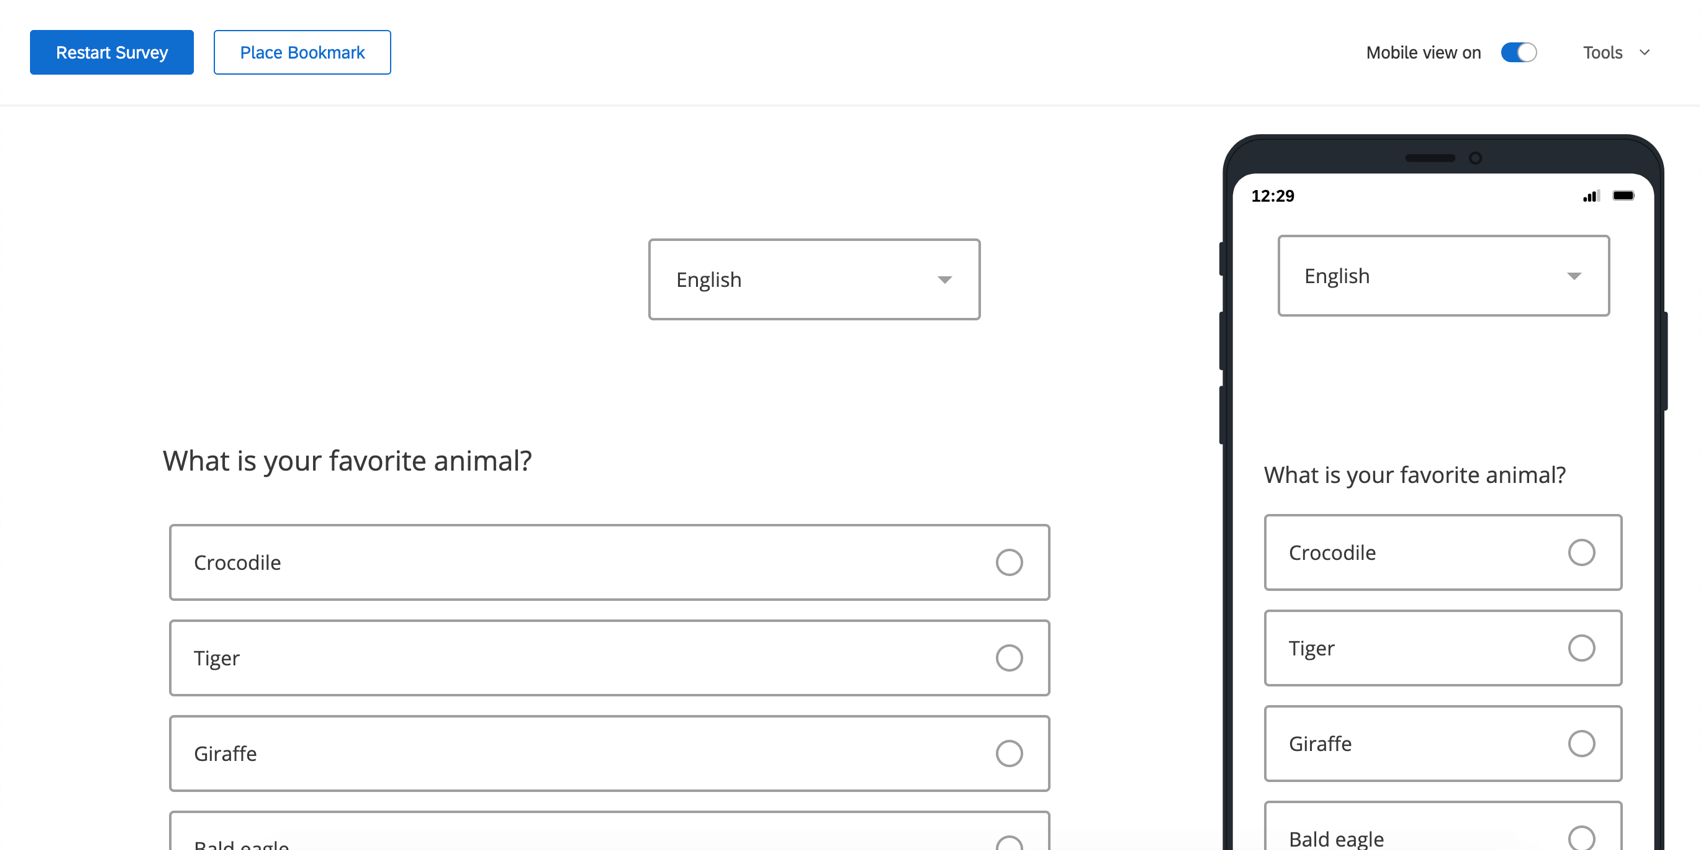
Optimize for Mobile App Use
As mobile usage becomes more and more common, it’s important to format and optimize your survey’s mobile experience. The Mobile Survey Optimization page outlines best practices for mobile optimization, options for previewing and adjusting mobile formatting, and more.