GET App
Check your meal plan balance, add dining dollars, and more!
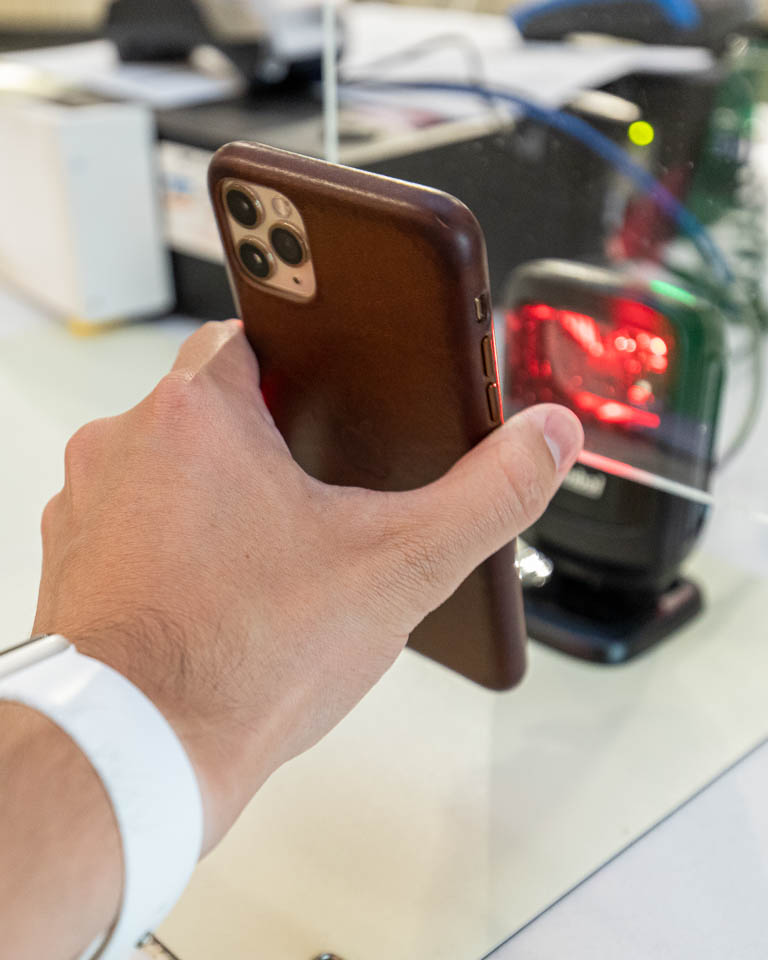
Download the GET App on your mobile device today to get the most out of your meal plan.
How To Setup GET
- Download the GET App from Apple App Store or Google Play Store.
- Once the app is done downloading, open it up.
- Click on Search All Institutions.
- Search for University of North Dakota Dining Services.
- Enter NDUS Account ID information. (firstname.lastname)
- Use Face ID, Thumbprint, etc. Click to turn on, or I'll do it later.
- Create a 4-digit pin. Make sure to write this down as you will need it each time you open the scan card.
- You are signed in!
View Your Meal Plan & Dining Dollars
- View your meal plan information directly on the GET App or on the GET website.
- View how many swipes you've used, or when you last entered the dining center.
- View how many dining dollars you've used and what you have left.
- Note that the unused balances of dining dollars, board, and bonus meals on the last day of the semester are forfeited.
Load Additional Dining Dollars To Your Account
Students must already have a meal plan contract to load additional dining dollars to their account. The unused balances of dining dollars are forfeited on the last day of the semester.
- Click here to login
- Enter NDUS Account ID
- Under Ask For Funds
- Enter Recipient Email
- Enter Recipient Name
- Select tender you would like money added to
- Enter Comment if you would like
- Click on Submit
Email will be sent to the recipient and within the email is a link they can click on to add funds
- Navigate to GET On the Web to deposit into a Students Account
- Enter NDUS Account ID
- Click on Green Add Funds Button
- Payment Type: Credit Card
- Click on Continue
- Enter Deposit Amount – in $25 increments
- Select An Account – Accounts available are U Cash or Dining Dollars – you must have this account currently on your account
- Choose a Credit Card on File, if you have this setup
- Read Refund Policy
- Confirm Add Funds
- Click on Enter Payment
- Enter Credit Card Payment
- Click on Submit
- Once Deposit has been accepted, you will be brought back to the Overview screen
- A confirmation email will be sent to the email within GET
- Navigate to GET On the Web to deposit into a Students Account
- Enter ID Number of Student – enter two leading 00 before ID number
- Enter First Name
- Enter Last Name
- Click on Continue
- Choose tender you would like to add to – Either U Cash or Dining Dollars – student must have this tender available on their account in order to add any funds to it
- Enter Deposit Amount – in $25 increments
- Enter email for confirmation receipt
- Click on Continue
- Confirm Information
- Click on Enter Payment
- Enter Credit Card Payment
- Click on Submit
Once payment has been accepted you will get a Deposit Complete message. This will tell you how much you deposited and the name of the student and where your confirmation receipt will be emailed to.